The Fender Telecaster is just about the simplest electric guitar out there – a plank of wood screwed onto another hunk of wood with a bit of plastic and metal thrown in and viola! A Telecaster! It’s simplicity is what makes it great, but what if you want to mess with the formula a little bit? Among the many tricks and mods that can be done to a Telecaster, you could try installing a middle pickup. Having three pickups instead of just two expands the tonal palette exponentially. Check it out.
My friend Brad is a busy guitarist, playing at least five nights a week on Bourbon St., and he wanted his Telecaster to cover a wider range of different tones, instead of having to bring multiple guitars to his gig. He wanted a middle pickup installed, so he could get both Telecaster and Stratocaster tones out of one guitar. He had been playing a custom built Tele that he really liked (I won’t mention the builder for reasons you’ll understand soon enough), and thought it would be a good candidate for modification. I made a few suggestions on different wiring options, and then with Brad’s agreement got down to the business of cutting new holes in his guitar!
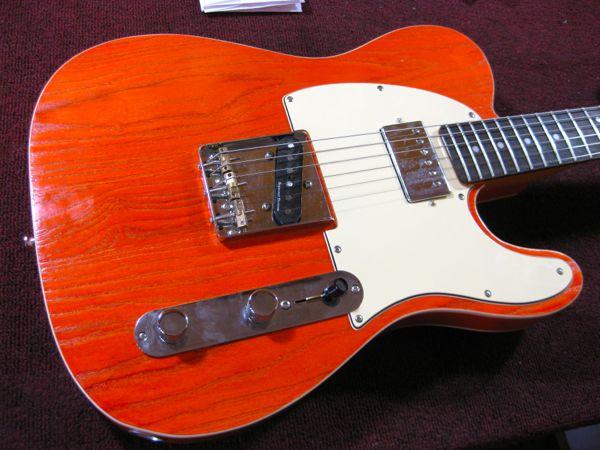
Brad’s custom Tele started out like this:
Now, installing a middle pickup isn’t as simple as just cutting a hole and dumping a pickup into it, especially if a pickguard is involved. The route for the pickguard is going to be a different shape than the route in the body below it, so careful mapping is required to make sure both holes line up. First I find the centerline on the body, then the center point between the pickups, and mark them out onto the guitar:

My first cut was to create the route for the pickguard, which would be just big enough to allow the top of the pickup to come through, so I used a routing template designed for that purpose:

I set up my Festool router with a 1/2″ bit and a roller collar, which would follow the template and create a flush cut. As always, I clamp the body to the bench, use eye and ear protection, and hook up the router to a vacuum. Safety and cleanliness first!

So far, so good!

Ok, now that my pickguard was cut, the next step was to route the body to accommodate the pickup. I removed the pickguard, and again mapped out the centerline and carefully placed the routing template. This has to be absolutely dead on, and just eyeballing it isn’t good enough.

I checked the depth of the route against the pickup – it should drop down flush with the guitar’s top. (Whoever built this guitar didn’t do this, and the neck pickup wouldn’t drop low enough into the body. I deepened the neck pickup route to make it fit properly).

That’s a handsome pickup route! It’s too bad that whoever built this guitar didn’t take the same level of care that I did – my new route is just about the only thing that’s actually straight on this guitar:

Next I drilled a hole from the bridge pickup route to the middle route, so the pickup leads could be threaded through to the controls. I used a long drill bit, and set some metal shields down, so that there was no way I could accidentally ding the guitar with the drill:

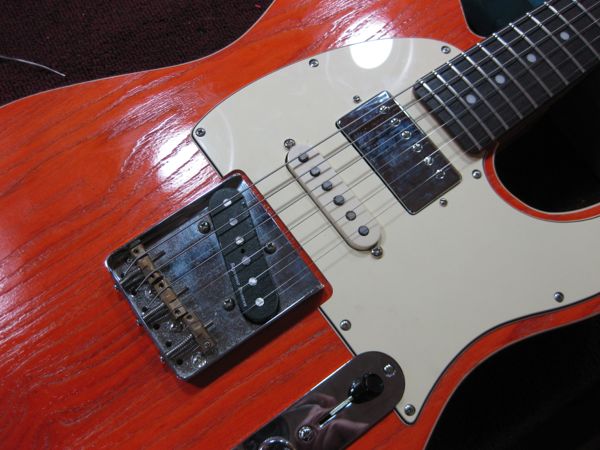
After all the routing and drilling, it was smooth sailing from there on. Since I had the entire guitar taken apart already, I shielded all the pickup and control cavities, just as a little bit of lagniappe for Brad. I wired in a 5 way switch, with a spring loaded tone pot switch that would automatically engage the neck and bridge pickups, regardless of where the 5 way was located. Now instead of just 3 tones, Brad’s Tele has 7 different tones available, covering most Strat, Tele, and Les Paul sounds. Sweet!